Free Hello Kitty Crochet Pattern With Two Skirt Options
Make a soft cat amigurumi with an oval head, pointed ears, embroidered features, a bow, and your choice of an attached or removable ruffled skirt. Follow each piece in sequence, then use the assembly map to bring the figure together.
- Techniques
- Basic stitches + assembly
- Hook
- 3.75 mm
- Yarn
- Worsted weight
- Length
- 1,066 words · 5 min
Read the materials and abbreviations first. Use the numbered map to move between sections, and open any image for a full-screen view with keyboard navigation.
Materials and pattern notes
Materials
- 3.75 mm crochet hook
- Worsted-weight yarn in the colors of your choice
- Fiberfill
- Stitch markers
- Yarn needle
- Scissors
Before you begin
- Skills used
- Magic ring, increases, decreases, sewing, and embroidery
- Hook
- 3.75 mm
- Yarn
- Worsted weight
- Gauge & size
- Not specified
- Yarn quantity
- Not specified
- Terminology
- US crochet terms
Stitch totals appear in brackets. The head begins around both sides of a foundation chain to form an oval. Work in continuous rounds unless a section is written in rows, and use a stitch marker to track the beginning of each round.
Abbreviations
| Abbreviation | Meaning |
|---|---|
| mr | magic ring |
| st | stitch |
| ch | chain |
| sc | single crochet |
| inc | increase |
| dec | decrease |
| ss | slip stitch |
| tr | treble (triple) crochet |
Head
The first two rounds establish the oval. Keep the increases at opposite ends of the foundation chain.
Round 1ch 6 [6]
Round 2Starting in the second st from the hook, sc 4, inc; continue along the other side of the chain, sc 4, inc [12]
Crochet over the beginning yarn tail as you work. Pull the tail gently to help close any gaps in the center of the oval.
Round 3(sc 1, inc) × 6 [18]
Round 4(sc 2, inc) × 6 [24]
Round 5(sc 3, inc) × 6 [30]
Round 6(sc 4, inc) × 6 [36]
Round 7(sc 5, inc) × 6 [42]
Rounds 8–15sc around [42]
Round 16(sc 5, dec) × 6 [36]
Round 17(sc 4, dec) × 6 [30]
Round 18(sc 3, dec) × 6 [24]
Round 19(sc 2, dec) × 6 [18]
Round 20(sc 1, dec) × 6 [12]
Stuff the head evenly before the opening becomes too small. After Round 20, adjust the filling, fasten off with a long tail, close the remaining opening, and hide the tail.
Ears make 2
Round 1mr 4 [4]
Round 2inc × 4 [8]
Round 3sc around [8]
Round 4(sc 1, inc) × 4 [12]
Round 5sc around [12]
Fasten off, leaving a long tail for sewing. Stuff each ear lightly and attach it to the head.
Body
Begin with pink yarn; this section forms the lower-body garment.
Round 1mr 6 [6]
Round 2inc × 6 [12]
Round 3(sc 1, inc) × 6 [18]
Round 4(sc 2, inc) × 6 [24]
Rounds 5–6sc around [24]
Switch to the main color.
Round 7sc around [24]
Round 8(sc 2, dec) × 6 [18]
Round 9sc around [18]
Round 10(sc 1, dec) × 6 [12]
Round 11sc around [12]
Fasten off, leaving a long tail for sewing, and stuff the body.
Attached ruffled skirt
Choose this construction when you want the skirt fixed directly to the body.
Round 1Return to Body Round 7 and ss into the back post of any st. Sc in every back post around [24]
Round 2Work 3 sc in each st around [72]
Round 3sc around [72]
Fasten off and weave in the ends.
Removable skirt with ties
Choose this alternative when you want the skirt to be removable.
Foundationch 25
Row 1Starting in the second st from the hook, sc across [24]
Row 2ch 1, work 3 sc in each st across [72]
Row 3ch 1, sc across [72]
Tiesss into the beginning chain on either end and ch 20 to form each tie
Fasten off, weave in the ends, and tie the skirt around the body. The strip will naturally curl and twist during construction; once tied, untwist it and arrange the ruffles.
For a neater finish, conceal the tie ends by guiding the yarn needle between the yarn fibers.
Arms, feet, and tail
Arms
Round 1mr 4 [4]
Round 2(sc 1, inc) × 2 [6]
Rounds 3–6sc around [6]
Fasten off with a long sewing tail. Stuff, fold the opening in half, sew it closed, and attach the arm to the body.
Feet
Round 1mr 6 [6]
Round 2inc × 6 [12]
Rounds 3–4sc around [12]
Fasten off with a long sewing tail, stuff, and attach to the body.
Tail
Round 1mr 4 [4]
Round 2sc around [4]
Fasten off with a long sewing tail, sew the tail in half, and attach it to the body.
Bow
Start with an mr and a long yarn tail. Do not pull the ring tight yet.
Pull the mr tight. Wrap the extra yarn around the middle of the bow, leaving enough yarn to sew it to the head.
Assembly
- 1
Attach the ears to the top of the head. Pin each ear so its base forms an oval rather than a circle, or pinch the base closed before sewing. Mark the facial center with a contrasting vertical strand, use pins to test the eye and nose positions, then embroider the eyes, nose, and whiskers.
- 2
Attach the finished head to the body, checking that both pieces remain aligned as you sew.
- 3
Attach the feet. Pin each foot into a more oval shape before sewing to define the foot shape.
- 4
Sew the tail to the back of the body.
- 5
Attach one arm to each side of the body.
- 6
Add the skirt if it is not already in place. For the removable version, tie it around the body, untwist it, and distribute the ruffles evenly.
- 7
Sew the bow beside one ear to complete the doll.
Final checks
Secure every seam and hide the remaining yarn tails. Check that the removable skirt sits untwisted, the facial features are secure, and the figure sits evenly. The embroidered face, ruffled skirt, and bow complete the amigurumi.
Want this pattern as a PDF?
Buy the Hello Kitty Crochet Pattern printable PDF for $2.00 USD. The free on-site guide stays available to read.
Digital download · Stripe Checkout · $2 per language PDFSave the pattern for later.
Choose a design for your crochet board, then return whenever you are ready to continue.
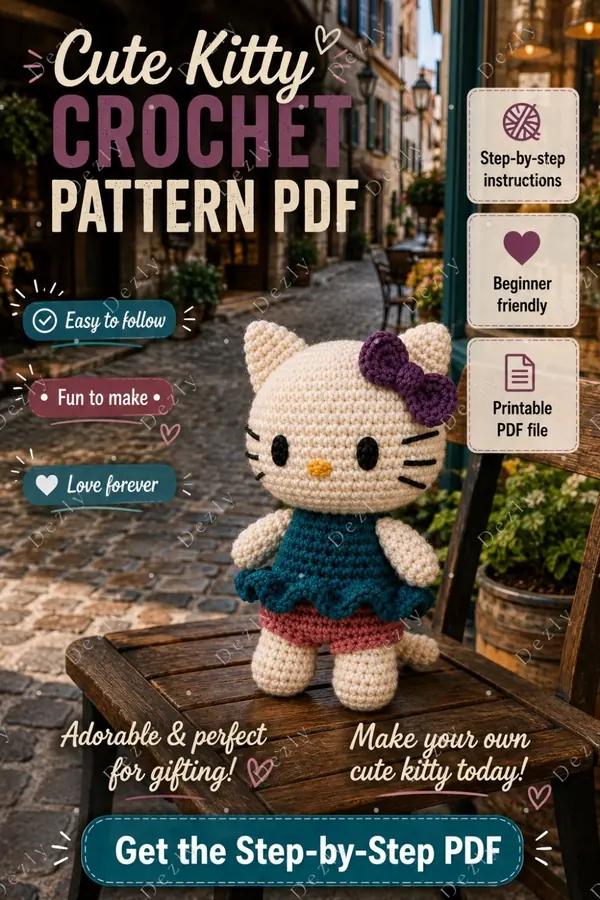
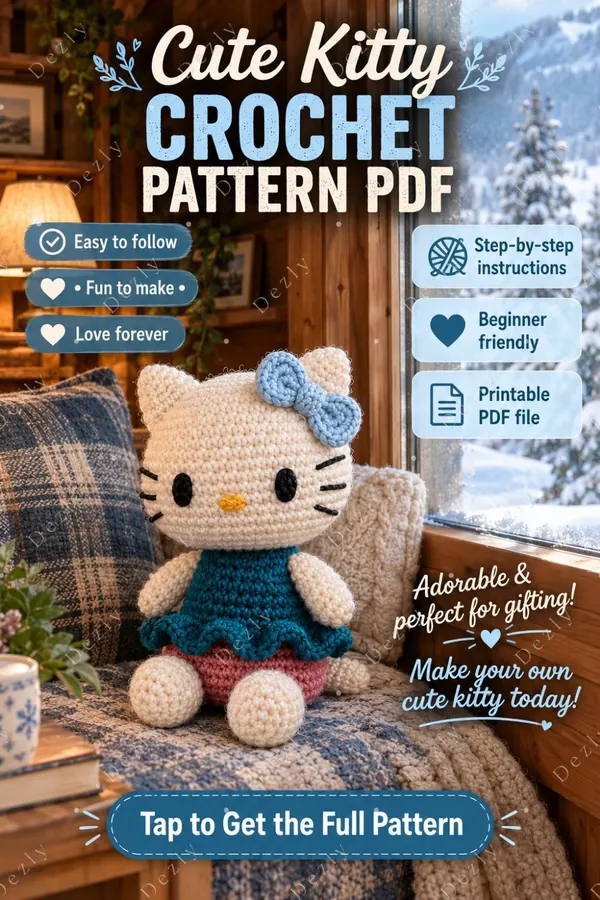
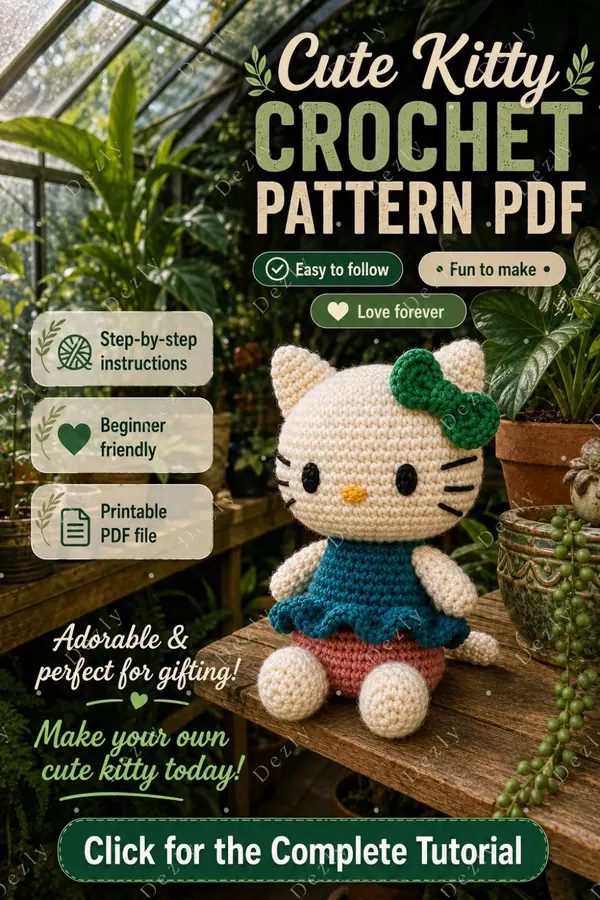
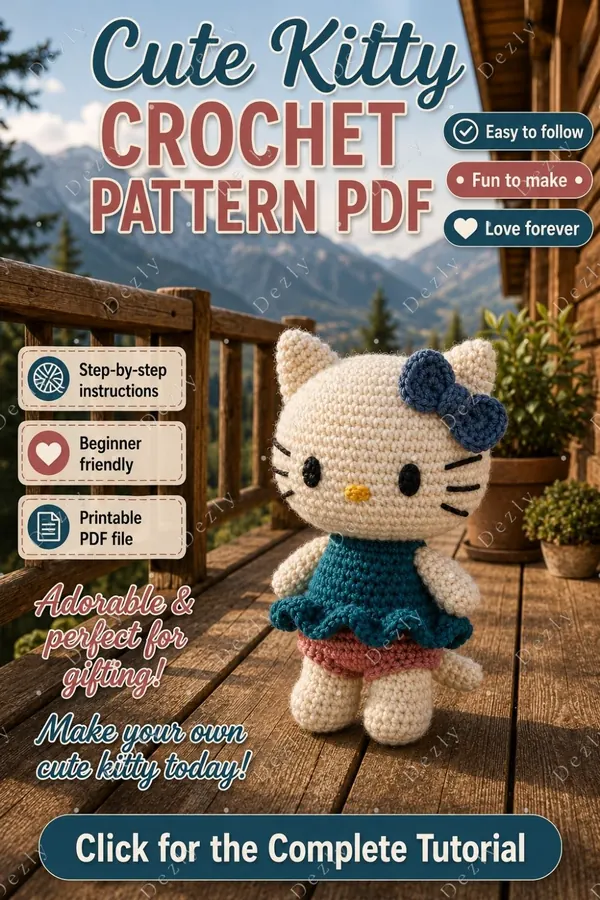
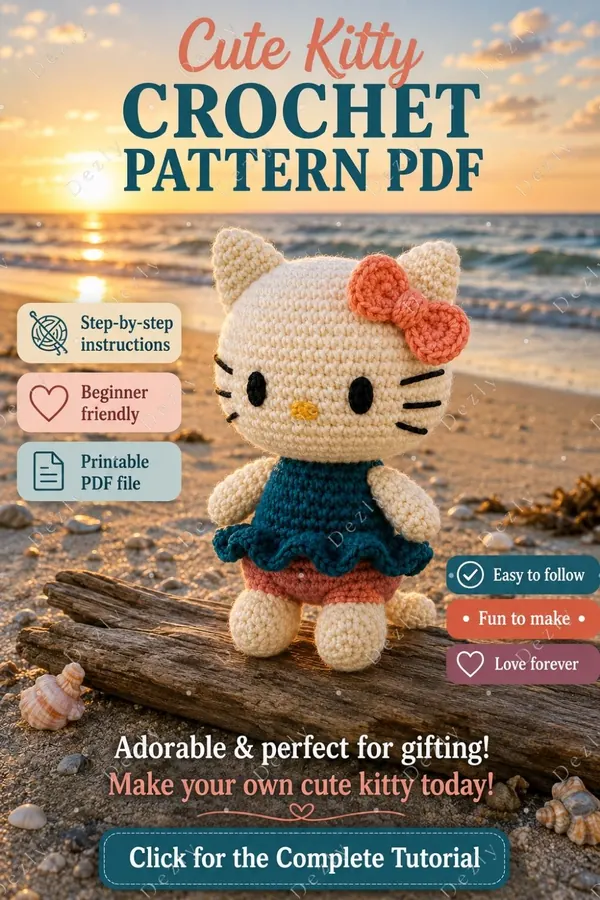
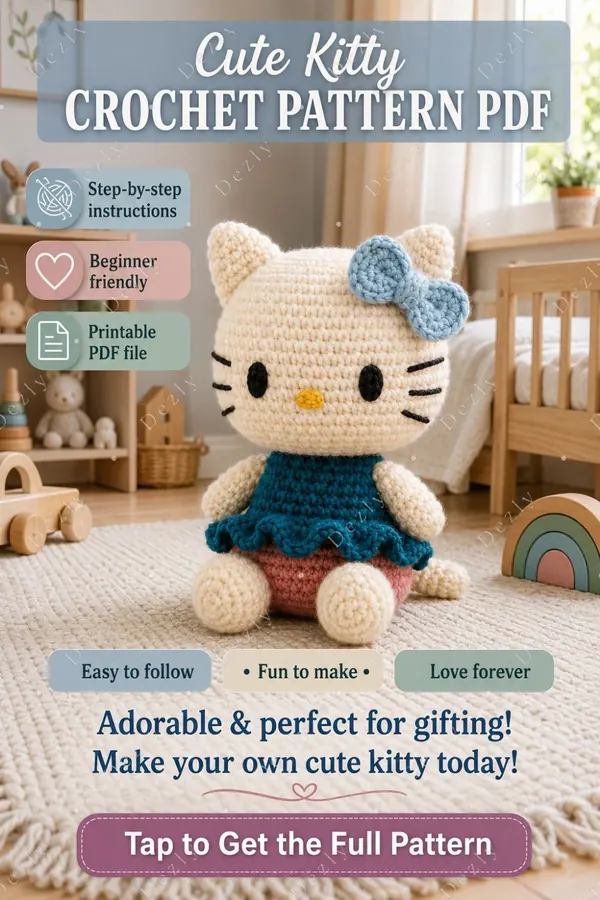
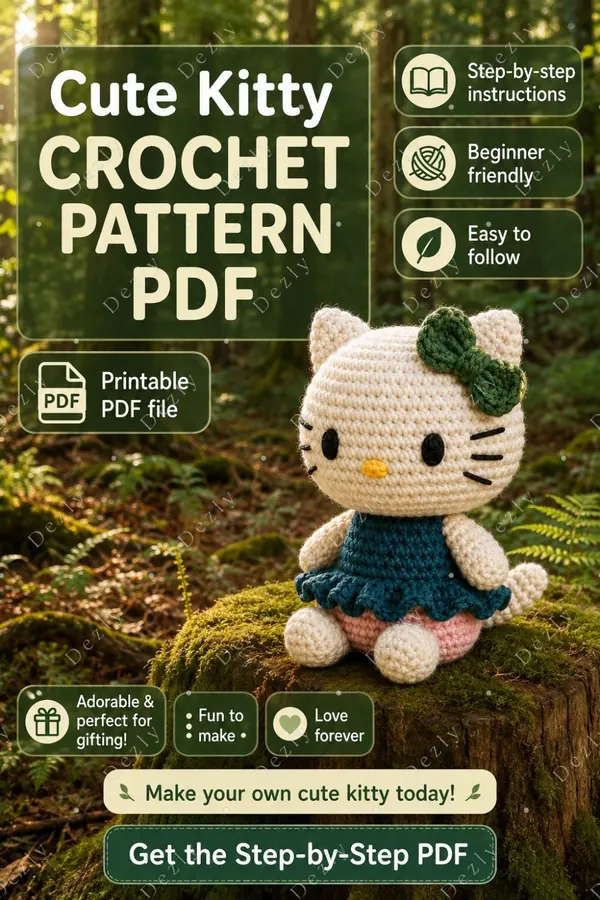
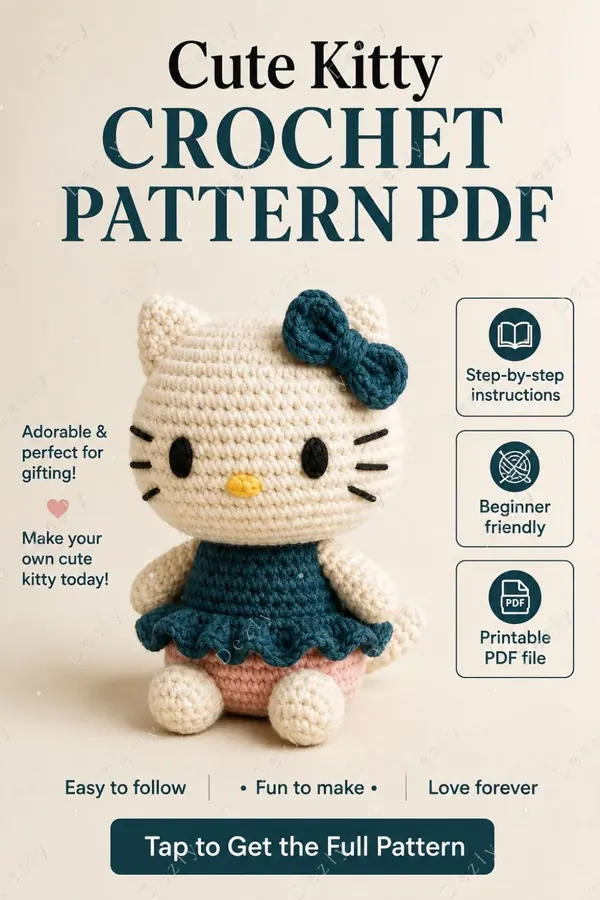
Swipe or use the arrow buttons to browse all eight designs.
Know someone who would enjoy this pattern?
Send the canonical article link—never a copied version of the instructions.